How to Master Organizing Cosmetics in a Waterproof Makeup Bag for Epic Rainy Day Adventures
How to Master Organizing Cosmetics in a Waterproof Makeup Bag for Epic Rainy Day Adventures
Don't let unpredictable weather dampen your spirit or ruin your carefully curated cosmetics. A rainy day adventure—whether it's a coastal hike, a festival in the drizzle, or an urban exploration—calls for smart preparation. The secret weapon? A perfectly organized waterproof makeup bag. This guide provides a professional, step-by-step system to protect your products and ensure you look flawless, come rain or shine.
Part 1: The Foundation - Choosing the Right Waterproof Arsenal
Not all waterproof bags are created equal. Your first step is selecting the right fortress for your cosmetics.
1.1 Bag Specifications to Vet:
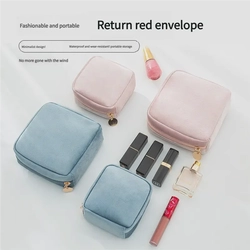
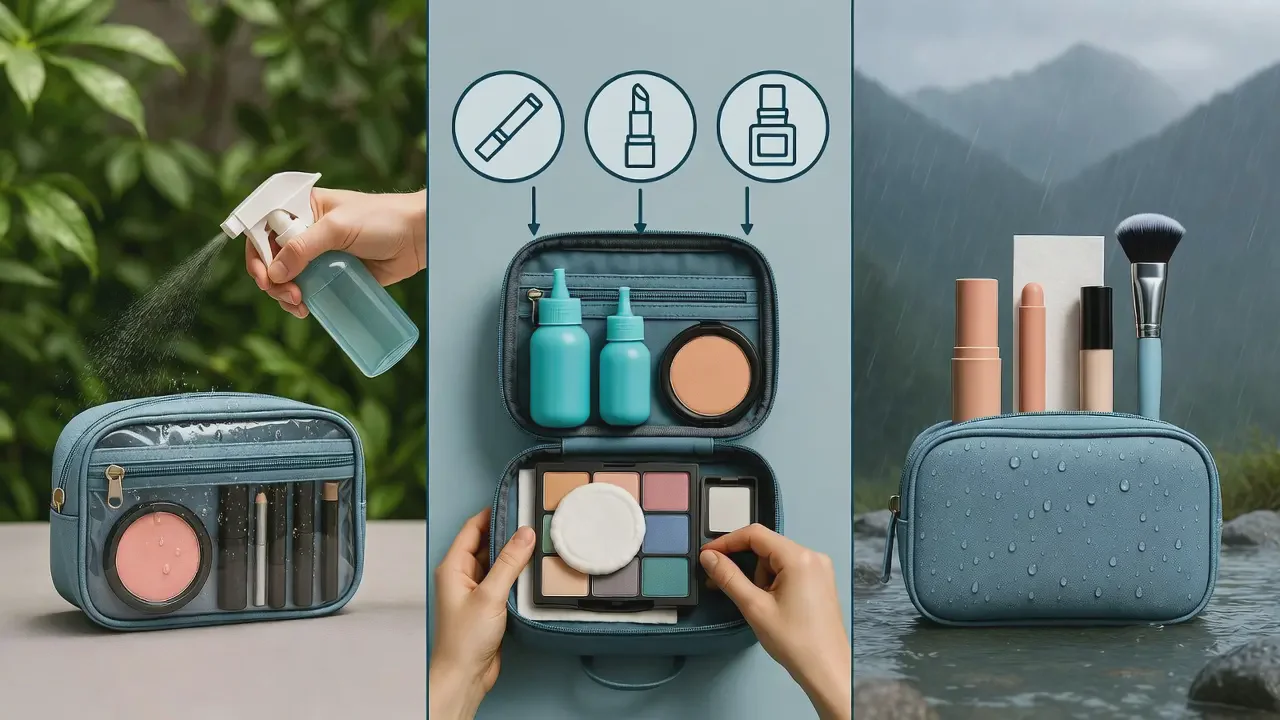
Material: Look for TPU-coated nylon, polyester with welded seams, or heavy-duty PVC. The zipper is the weakest point—ensure it's a water-resistant or aqua-guard zipper backed by a storm flap.
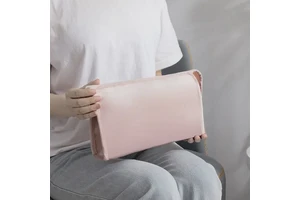
Size & Structure: Opt for a structured bag that holds its shape, preventing crushing. A medium-sized (approx. 8" x 5") offers space for essentials without becoming a burden.
Interior: A light-colored or clear interior liner is crucial for visibility. Bonus points for a smooth, wipe-clean lining that won't trap moisture or stains.
1.2 The Essential Character Test:
Before packing, perform the "Paper Towel Test." Place a dry paper towel inside the empty bag, seal it, and run it under a gentle stream of water or spray it thoroughly for 30 seconds. Open it. A dry towel means you have a true waterproof champion.
Part 2: The Strategic Packing Methodology - Zone Defense
The goal is to create isolated, protective zones within your bag to prevent cross-contamination and manage potential internal moisture.
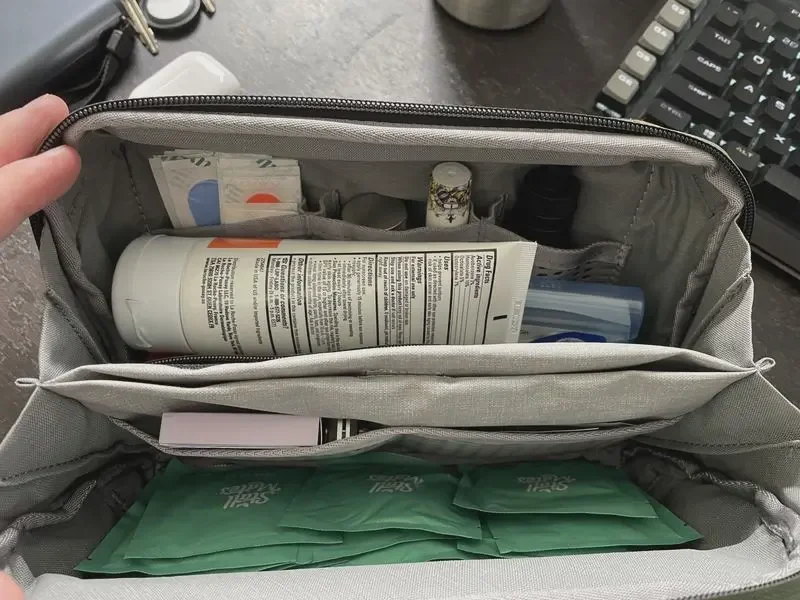
Zone 1: The Airtight Core (Liquids & Creams)
This is your critical containment zone.
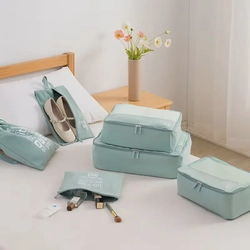
Tools: Use travel-sized silicone bottles for foundation, primer, and serum. For creams (concealer, moisturizer), employ stackable contact lens cases—they're ultra-compact and leak-proof.
Packing: Place all liquid and cream containers inside a small, stand-alone zippered silicone pouch or a sturdy reusable snack bag before placing them in the main bag. This creates a double-barrier seal.
Zone 2: The Dry Bulwark (Powders & Pencils)
Keep humidity away from your powders.
Tools: Use pressed powders over loose ones. Secure eyeshadow palettes by placing a cotton round or a sheet of paper towel over the powders before closing the lid to absorb any excess moisture.
Packing: Wrap pencils (eyeliner, lip liner) in a small piece of parchment paper to prevent transfer. Group all dry items together, separated from Zone 1.
Zone 3: The Protected Arsenal (Brushes & Tools)
Tools: Use a ventilated, hard-shell brush case or a roll-up brush holder made of water-resistant material. Never pack damp brushes.
Packing: Place the brush holder in its own compartment. Include a mini silica gel packet in this zone to absorb any ambient moisture.
Part 3: The Adventure-Ready Product Selection
Your product choices are as important as your packing technique.
Makeup MVP List for Rainy Days:
Base: A long-wearing, water-resistant tinted moisturizer or CC cream.
Eyes: Cream eyeshadow sticks (won't shatter), tubing mascara (sweat- and rain-proof, removes with warm water), and a pencil eyeliner that sets.
Cheeks & Lips: A multi-use cream blush/lip tint in a sturdy stick format. A matte liquid lipstick or a deeply staining lip balm.
Finisher: A setting spray with waterproofing claims is non-negotiable. Apply before and after makeup.
The "Don't-Pack-It" List: Avoid loose powders, overly fragile highlighters, and any product in bulky glass packaging.
Part 4: The On-The-Go Protocol & Damage Control
Pre-Adventure Prep:
Prime Powerfully: Use an gripping primer designed for long wear.
Layer Strategically: Apply thin layers of product, allowing each to set before the next.
Lock It In: Finish with a generous mist of waterproof setting spray, holding the bottle 8-10 inches from your face.
During the Adventure:
Pat, Don't Rub: If you get wet, gently pat your face dry with a microfiber cloth or paper towel. Rubbing will smear makeup.
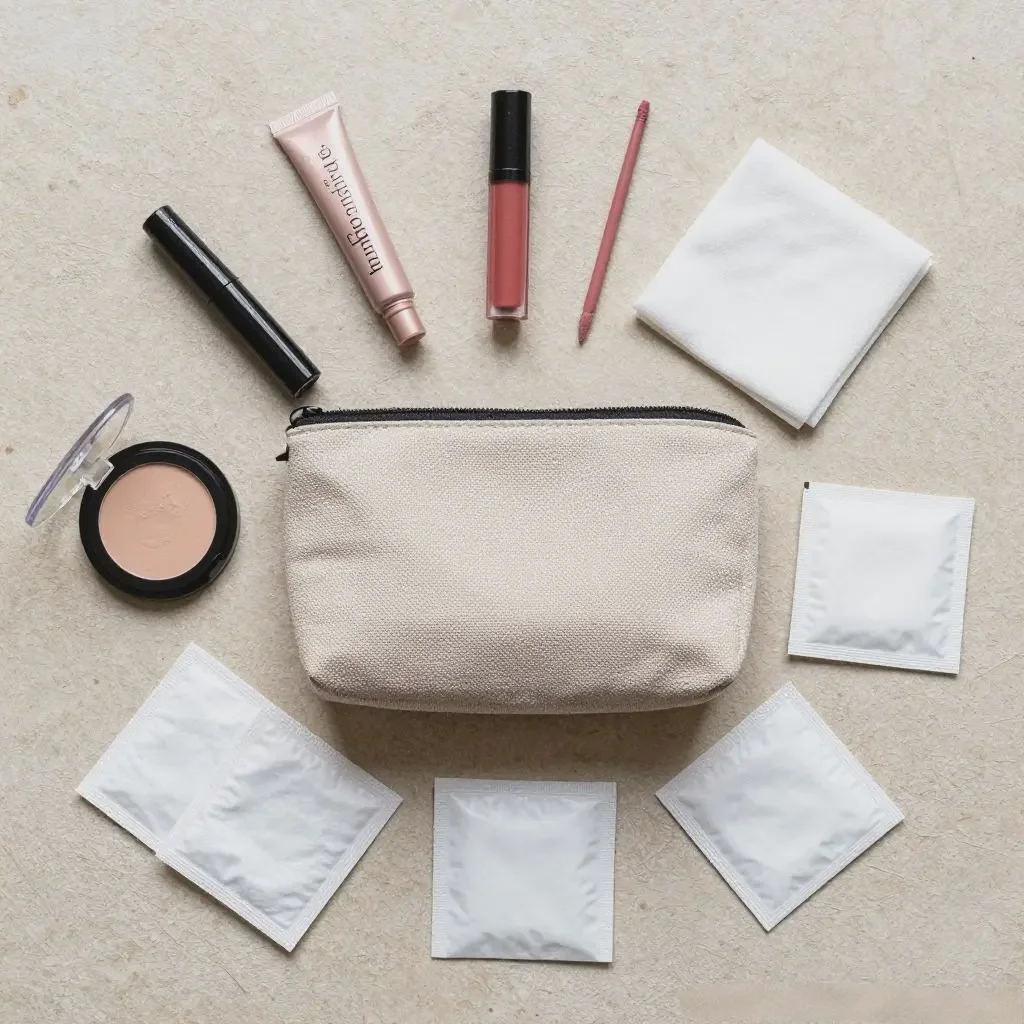
Quick-Touch Kit: Within your main bag, keep a tiny pouch with a blotting paper, the multi-use stick, and a compact mirror for rapid, under-cover fixes.
Post-Adventure Triage:
Bag First: Immediately open your makeup bag, remove all items, and wipe down the interior with a dry cloth to evaporate any condensation. Leave it open to air out.
Product Check: Inspect all items, especially in Zone 1, for any leakage. Wipe down containers.
Brush Care: Ensure brushes are clean and completely dry before repacking.
Part 5: The Ultimate Rainy-Day Adventure Checklist
True Waterproof Bag (passed the Paper Towel Test)
Double-Barrier Silicone Pouch for liquids/creams
Pressed Powders & Palettes (protected with cotton round)
Cream-Based, Multi-Use Makeup Products
Tubing Mascara & Waterproof Setting Spray
Hard-Shell Brush Protector
Mini Silica Gel Packets (moisture magnets)
Blotting Papers & Microfiber Cloth
Travel-Sized Makeup Remover Wipes (for clean-up)
Conclusion: Embrace the Elements in Style
Mastering the art of the waterproof makeup bag transforms a rainy day from a beauty dilemma into an opportunity for resilient glam. It's about intelligent product curation, strategic compartmentalization, and trusting your gear. By implementing this zoned-defense system, you ensure that your cosmetics are battle-ready, allowing you to focus wholly on the epic adventure ahead—with flawless skin and smudge-proof smiles, no matter what the clouds bring. So pack smart, venture forth, and let your confidence shine, undimmed by the rain.