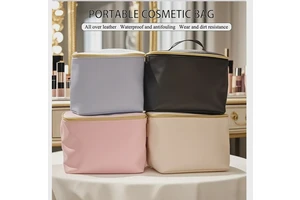
What if my makeup bag has an irregular shape?
Dealing with an Irregularly Shaped Makeup Bag
Introduction
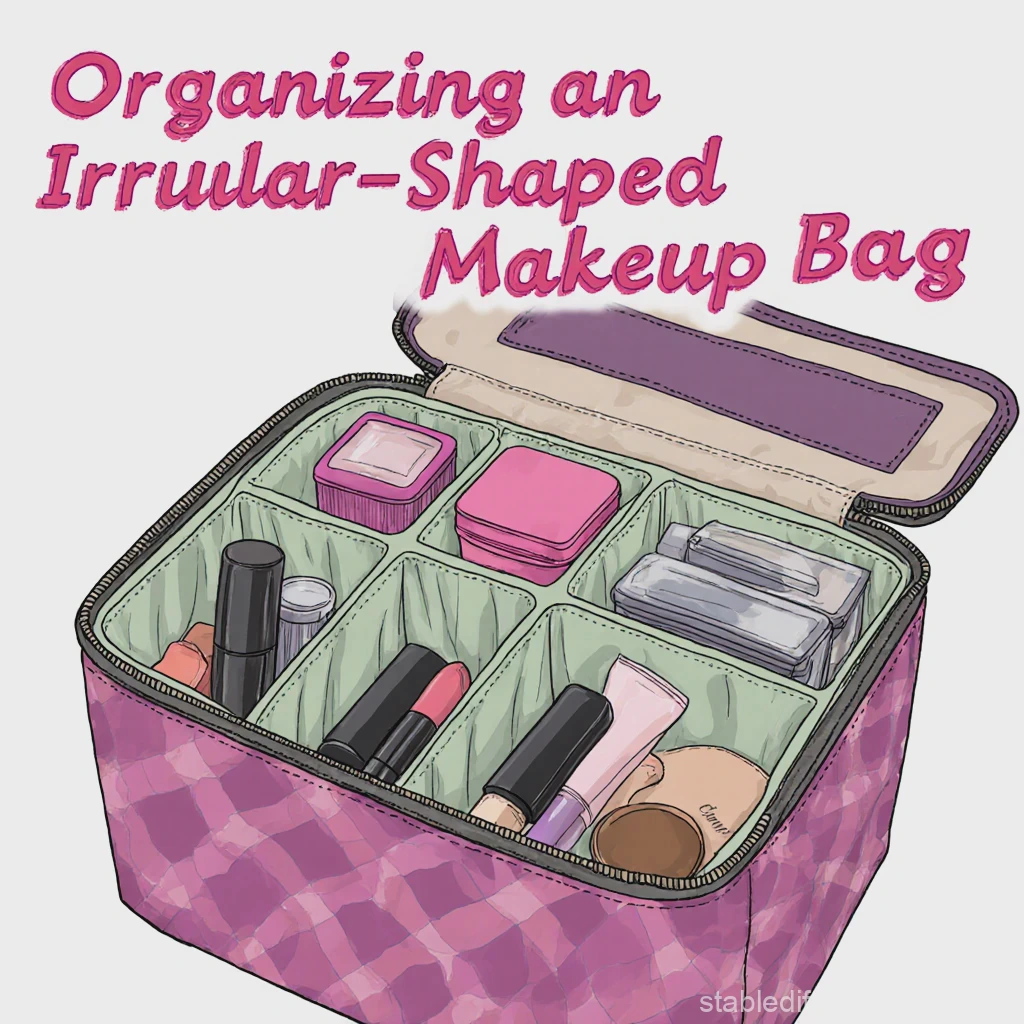
An irregularly shaped makeup bag can present unique challenges when it comes to organization. However, with some creativity and careful planning, you can still create a functional and well-organized storage solution for your makeup. Here's how to make the most of an irregularly shaped makeup bag.
1. Assess the Shape
1.1 Identify Key Features
- Unusual Angles and Curves: Carefully examine the makeup bag. Note any unusual angles, curves, or indentations. For example, if the bag has a rounded bottom or a sloping side, these features will influence how you organize your makeup. Understanding these unique elements is the first step in creating an effective storage plan.
- Available Space Zones: Divide the bag into different zones based on the available space. Some areas may be more suitable for larger items, while others can accommodate smaller, more delicate products. Identify pockets, if any, and consider how they can be utilized. A small, triangular-shaped pocket might be perfect for storing single-use makeup wipes or Q-tips.
1.2 Measure the Bag
- Precise Dimensions: Use a flexible measuring tape to take accurate measurements of the bag. Measure the length, width, and height at various points, especially where the shape changes. For an irregularly shaped bag, you may need to measure multiple areas to get a full understanding of the available space. This will help you determine the size of the dividers or containers you'll need.
- Irregular Shapes Measurement: When measuring irregular shapes, break them down into more manageable geometric shapes. For example, if part of the bag has a trapezoidal shape, measure the lengths of the parallel sides and the height between them. This will assist in creating dividers that fit snugly.
2. Create Custom - Shaped Dividers
2.1 Use Cardboard Templates
- Template Creation: Cut cardboard pieces to create templates that match the irregular shapes within the bag. Start by tracing the outline of the areas you want to divide on the cardboard. Then, cut out the templates carefully. These templates can be used as a guide for creating dividers from more durable materials like fabric, plastic, or thicker cardboard.
- Adjusting the Template: Make any necessary adjustments to the cardboard templates. Test them inside the bag to ensure a proper fit. If the template is too large or too small, trim or add cardboard as needed. Once you're satisfied with the fit, you can use the template to cut the actual dividers.
2.2 Select the Right Divider Material
- Flexible Fabrics: For an irregularly shaped bag, flexible fabrics can be a great option. Fabrics like canvas or denim can be easily manipulated to fit the curves and angles of the bag. You can sew the fabric dividers to create compartments that conform to the bag's shape. Additionally, fabric dividers are gentle on your makeup products, reducing the risk of scratches.
- Moldable Plastics: Some plastics, such as thin acrylic sheets or flexible plastic panels, can be heated and molded to fit the irregular shape. Use a heat gun to carefully heat the plastic until it becomes malleable. Then, press it into the desired shape inside the bag. Once it cools, it will retain its shape, creating a custom-fit divider.
3. Utilize Flexible Storage Containers
3.1 Soft-Sided Pouches
- Adaptable Storage: Soft-sided pouches, like zippered fabric pouches or mesh bags, can be an excellent choice for an irregularly shaped makeup bag. These pouches can be squeezed and arranged to fit into the available space. You can use them to group similar products, such as lip products in one pouch, eye makeup in another, and face powders in a third.
- Size and Shape Variety: Look for pouches in different sizes and shapes. Small, rectangular pouches can fit into narrow spaces, while larger, more flexible pouches can be used to store bulkier items. You can also stack or layer these pouches to maximize the use of space.
3.2 Silicone or Rubber Containers
- Flexible and Durable: Silicone or rubber containers are not only flexible but also durable. They can be bent and shaped to fit the irregularities of the bag. These containers are great for storing liquids or creams, as they are often leak - resistant. You can find silicone containers in various sizes, from small pots for samples to larger containers for full-sized products.
4. Organize by Product Size and Usage
4.1 Size - Based Organization
- Large Items First: Place larger makeup items, such as palettes, large foundation bottles, or hairspray cans, in the areas of the bag that can accommodate their size. If the bag has a wider section at the bottom, this could be an ideal spot for these larger items. By starting with the large items, you can better visualize how to arrange the smaller products around them.
- Small Items in Nooks: Use the smaller nooks and crannies of the bag for smaller items like mascaras, lipsticks, and single-use makeup applicators. These areas may be difficult to access, but they're perfect for storing items that don't need to be retrieved frequently.
4.2 Usage - Based Grouping
- Daily Essentials Accessibility: Group your daily essential makeup products together and place them in an easily accessible area of the bag. This could be a pocket near the top of the bag or a section that's visible when you open the bag. Items like your concealer, mascara, and lipstick should be within easy reach for quick touch-ups.
- Special - Occasion Products Separation: Keep special-occasion makeup products, such as glittery eyeshadows or long-lasting lip stains, in a separate area. This way, you can easily find them when needed without having to rummage through your entire collection.
5. FAQ
Q: How can I make sure the custom-shaped dividers stay in place?
A: You can use the same methods as for regular-shaped dividers. For fabric dividers, sew them to the interior of the bag or use Velcro strips for adjustable placement. If using plastic dividers, you can glue them in place using a plastic-compatible adhesive. Reinforce cardboard dividers with tape and secure them with glue or by sewing fabric around the edges to hold them in position.
Q: What if I can't find soft-sided pouches in the right size for my bag?A: You can make your own soft-sided pouches from fabric scraps. Cut the fabric to the desired size, fold it in half, and sew three sides to create a pouch. You can also add a zipper or drawstring for closure. Additionally, you can look for adjustable or expandable pouches that can be customized to fit your bag's irregular shape.
6. Conclusion
An irregularly shaped makeup bag doesn't have to be a hindrance to organizing your makeup. By assessing the shape, creating custom-shaped dividers, using flexible storage containers, and organizing by product size and usage, you can transform your bag into a well-organized and functional storage solution.