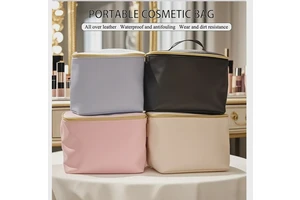
Better Ways to Use a Large - Capacity Cosmetic Bag for Professional Makeup Artists
Introduction
Professional makeup artists rely on their large-capacity cosmetic bags to carry a vast array of products and tools. Optimizing the use of these bags can enhance efficiency, organization, and the overall quality of their work. Here are some effective strategies.
1. Strategic Product Organization
1.1 Categorize by Product Type
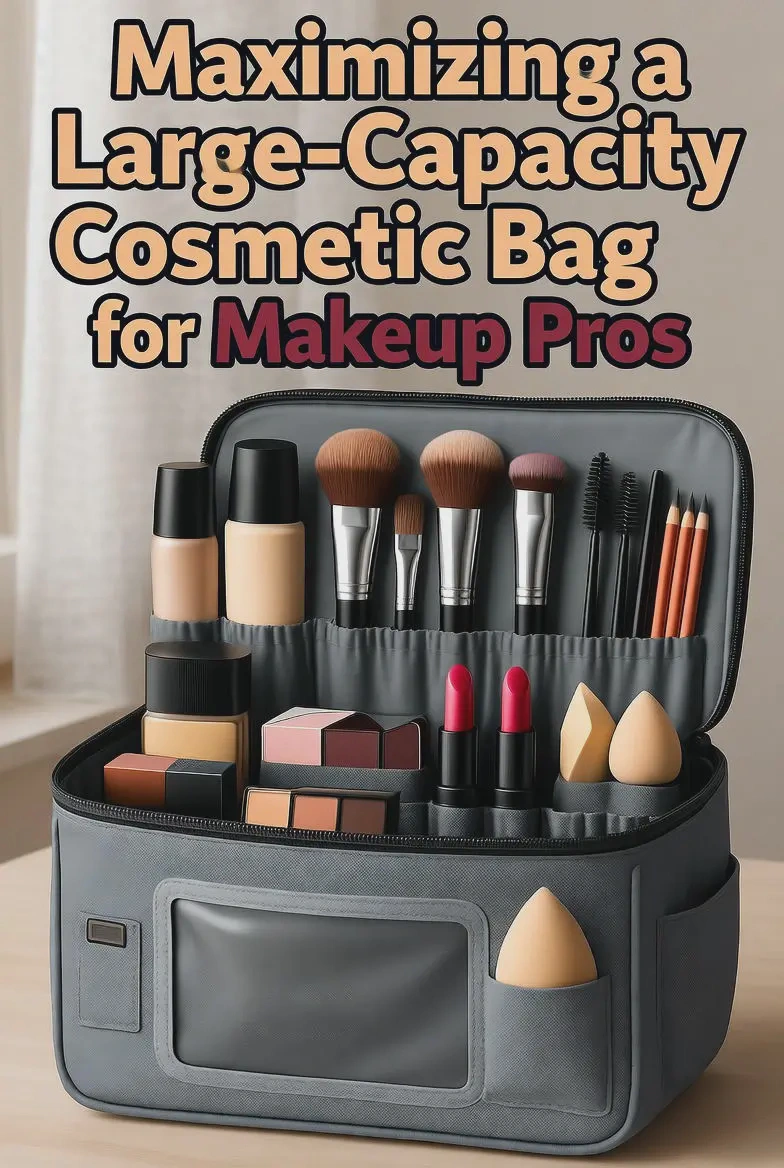
- Face, Eyes, and Lips: Divide your cosmetic bag into sections for face, eye, and lip products. Use compartments or dividers to keep foundations, concealers, powders, and blushes separate from eyeliners, eyeshadows, and mascaras, and lipsticks, glosses, and balms. This makes it quick and easy to locate specific items during a makeup application. For example, when working on a client's eyes, you can immediately access the eye makeup section without rummaging through the entire bag.
- Skincare and Primers: Allocate a dedicated area for skincare products like moisturizers, serums, and primers. These products are often used at the beginning of a makeup routine, so having them in a separate, easily accessible section streamlines the process. You can further organize this section by separating day - use and night - use products or by skin - type - specific items.
1.2 Group by Brand or Quality
- High-End and Budget Brands: If you use a mix of high-end and budget-friendly makeup products, group them separately. This not only helps you keep track of your inventory but also allows you to quickly select products based on your client's preferences or budget. For instance, if a client requests high-end makeup, you can immediately turn to the section with luxury brands.
- Professional-Grade Products: Identify and group professional-grade products that are your go-to for different types of jobs. These could be long-lasting foundations for bridal makeup or high-pigment eyeshadows for stage makeup. Keeping them together ensures that you can find them easily when working on specific projects.
2. Tool Management
2.1 Brush Organization
- Brush Holders and Roll-Ups: Use brush holders or roll-ups to keep your brushes organized. These can be placed inside the cosmetic bag or attached to the lid. Brush holders with individual slots keep brushes separated, preventing the bristles from getting damaged. Roll-ups, on the other hand, are portable and can be unrolled on a makeup station, displaying all your brushes at once. You can categorize brushes by function, such as foundation brushes, eyeshadow brushes, and blush brushes, within the holder or roll-up.
- Brush Cleaning Supplies: Include brush-cleaning supplies like brush shampoo, cleaning pads, and a brush-cleaning mat in your bag. Keep them in a separate compartment to prevent any spillage from affecting your makeup products. Having these supplies readily available ensures that you can clean your brushes between clients, maintaining hygiene and the quality of your work.
2.2 Other Tools
- Tweezers, Scissors, and Eyelash Applicators: Store tools like tweezers, scissors, and eyelash applicators in a small, dedicated pouch. This keeps them together and prevents them from getting lost in the bag. You can also attach a small magnetic strip to the pouch to hold metal tools like tweezers in place.
- Palettes and Mixing Tools: For professional makeup artists who create custom-blended makeup, palettes and mixing tools are essential. Keep these in a section of the bag where they won't be damaged. You can use a hard-shell case to protect palettes and store mixing spatulas, brushes, and other tools in a separate pocket.
3. Customization and Compartmentalization
3.1 Removable Dividers
- Adjustable Compartments: Invest in a cosmetic bag with removable dividers. This allows you to customize the interior space based on the products and tools you're carrying for a particular job. For example, if you're working on a photoshoot where you need to carry more eyeshadow palettes, you can create larger compartments for them. Conversely, for a simple bridal makeup job, you can adjust the dividers to create smaller compartments for individual products.
- Flexible Storage: Removable dividers also provide flexibility in organizing your bag over time. As your makeup collection grows or changes, you can easily rearrange the dividers to accommodate new products or tools.
3.2 Adding Extra Pockets
- Interior and Exterior Pockets: If your cosmetic bag doesn't have enough pockets, consider adding them. You can sew or glue small fabric pockets inside the bag to hold small items like bobby pins, Q-tips, or single-use makeup sponges. Exterior pockets can be used to store frequently accessed items like your phone, business cards, or a small notebook for client notes.
4. Easy Accessibility and Visibility
3.1 Clear Windows and Transparent Pouches
- See-Through Compartments: Look for a cosmetic bag with clear windows or use transparent pouches inside the bag. Clear windows on the bag itself allow you to quickly identify the contents of a compartment without having to open it. Transparent pouches, such as clear plastic zippered bags, can be used to group similar products and make them easily visible. For example, use a clear pouch to store all your liquid lipsticks so you can see exactly which shades you have.
- Labeling: Label the compartments or pouches in your cosmetic bag. You can use adhesive labels or write directly on the fabric with a fabric marker. Labels help you quickly find specific products, especially in a large-capacity bag. For example, label a compartment “Bridal Makeup Essentials” or “High-Pigment Eyeshadows.”
5. Maintenance and Hygiene
5.1 Regular Cleaning
- Bag Cleaning: Clean your cosmetic bag regularly to maintain hygiene. Depending on the material, you can wipe it down with a damp cloth or wash it in the washing machine on a gentle cycle. Remove all products and tools from the bag before cleaning to ensure that no makeup residue is left behind.
- Product Rotation: Rotate your makeup products regularly to ensure that you use them before their expiration dates. This also helps you keep track of your inventory and identify any products that need to be restocked.
5.2 Spill Prevention
- Leak-Proof Containers: Use leak-proof containers for liquid makeup products like foundations, concealers, and nail polishes. This prevents spills in your cosmetic bag, which can damage other products and make a mess. You can also place liquid products in a separate, waterproof compartment or pouch.
- Sealing Products: Before placing makeup products in your bag, ensure that they are properly sealed. Check the lids of jars, bottles, and compacts to make sure they are tight. This reduces the risk of spills during transportation.
6. FAQ
Q: How do I keep my brushes in good condition while traveling in a large-capacity cosmetic bag?
A: Use brush holders or roll-ups to keep brushes separated and their bristles protected. Make sure to clean your brushes regularly and let them dry completely before storing. You can also place a small piece of tissue or paper between the bristles of larger brushes to prevent them from flattening.
Q: What should I do if my large-capacity cosmetic bag doesn't have enough compartments?
A: You can use removable dividers, add extra pockets as described above, or use small pouches to create your own compartments. Additionally, you can group similar products in larger compartments and label them for easy identification.
7. Conclusion
A large-capacity cosmetic bag is a valuable tool for professional makeup artists. By organizing products and tools strategically, customizing the bag for better compartmentalization, ensuring easy accessibility and visibility, and maintaining hygiene, makeup artists can make the most of their bags and work more efficiently.