Can I modify a makeup bag with too many compartments?
Modifying a Makeup Bag with Excessive Compartments: A Viable Solution
Introduction
If you find yourself with a makeup bag that has an overwhelming number of compartments, don't despair. There are several ways to modify it to make it more functional and user-friendly. Modifying your makeup bag can transform it from a source of frustration into a well-organized beauty essential.
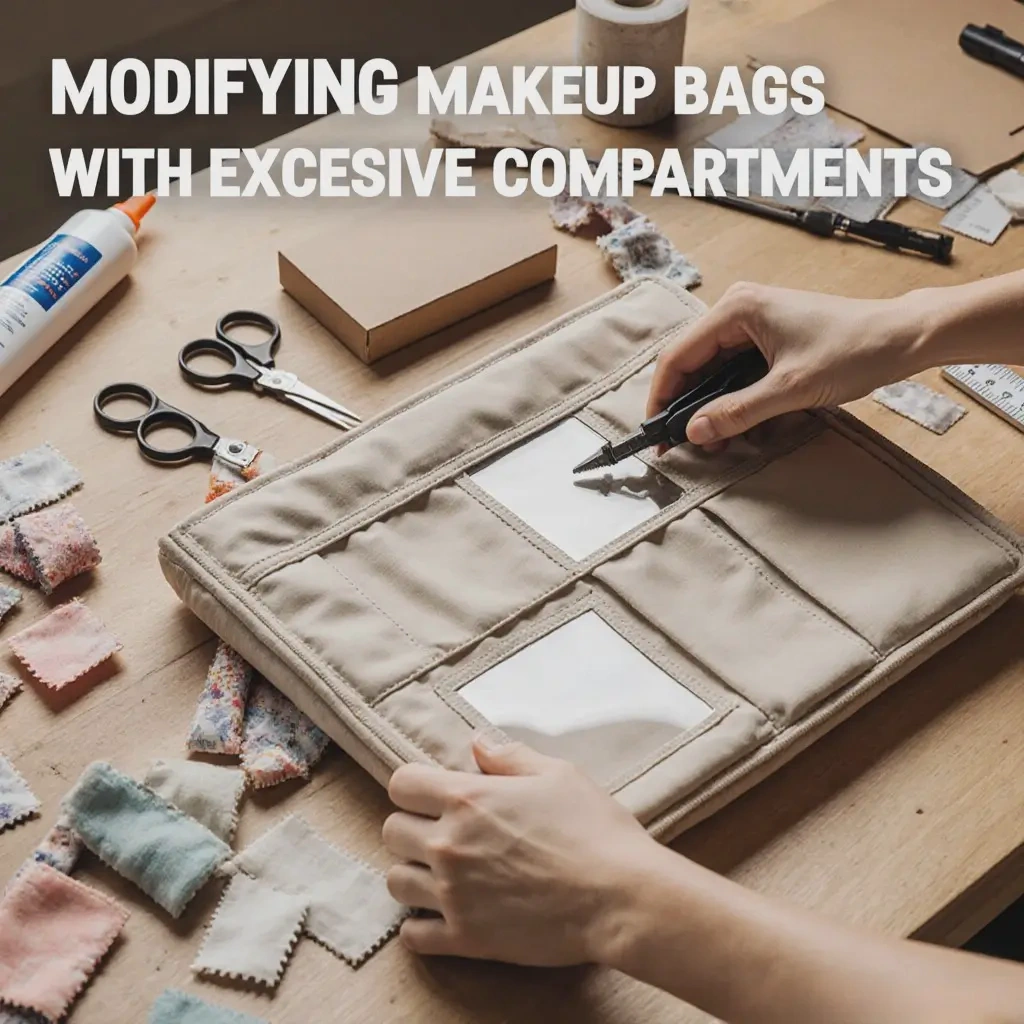
1. Adjusting Fixed Compartments
1.1 Removing Unnecessary Dividers
- Identify Redundant Compartments: Start by examining the makeup bag to identify compartments that you don't use or that are causing clutter. These could be very small compartments that are difficult to access or compartments that don't fit any of your products. For example, if there are tiny compartments meant for single-use items but you don't use such products, these can be removed.
- Carefully Remove Dividers: If the dividers are made of fabric, you can carefully unpick the stitches holding them in place. For plastic or cardboard dividers, you may be able to gently pry them out. Be cautious not to damage the bag in the process. Once removed, you can create larger, more usable spaces within the bag.
1.2 Modifying Divider Positions
- Re-evaluate Product Placement: Consider the sizes and types of your makeup products. If you have a bag with adjustable dividers that are currently configured in a way that doesn't optimize space, reevaluate how you want to arrange your products. For instance, if you have a large eyeshadow palette that doesn't fit well in the existing compartments, you can move the dividers to create a larger space for it.
- Use Tools for Adjustment: For dividers that are held in place by clips or slots, use appropriate tools like pliers or a flat-head screwdriver to carefully move them to new positions. This allows you to customize the compartments to better suit your product collection.
2. Adding or Modifying Storage Elements
2.1 Installing Aftermarket Inserts
- Choose the Right Insert: There are various aftermarket inserts available that can help you re - organize your makeup bag. Look for inserts with different configurations, such as ones with larger compartments, multiple pockets, or adjustable sections. For example, an insert with a large, open - top compartment for storing palettes and several smaller pockets for brushes and pencils can be a great addition.
- Fit the Insert in the Bag: Make sure the insert fits snugly inside the makeup bag. Some inserts are designed to be placed in specific types of bags, so choose one that is compatible with your makeup bag's size and shape. You may need to fold or adjust the insert slightly to get a proper fit.
2.2 Creating DIY Storage Solutions
- Fabric Pouches and Dividers: Use fabric remnants to create your own pouches or dividers. You can sew small fabric pouches to hold items like lip balms or single-use makeup wipes. These pouches can be attached to the inside of the bag using fabric glue or by sewing them in place. You can also create fabric dividers to separate different sections of the bag, custom-sizing them to fit your products.
- Cardboard and Plastic Dividers: Cardboard or thin plastic sheets can be used to create dividers. Cut the cardboard or plastic to the desired size and shape, and then use double-sided tape or glue to attach them to the inside of the bag. This is a quick and easy way to create custom-sized compartments for your makeup products.
3. Enhancing Accessibility and Identification
3.1 Adding Clear Windows or Transparent Panels
- Cut and Attach Transparent Material: Purchase clear plastic sheets or use the clear part of an old plastic container. Cut the plastic to the size of the compartment you want to make visible. Then, use fabric glue or adhesive tape to attach the plastic to the front of the compartment. This allows you to see the contents of the compartment without having to open it, making it easier to find what you need.
- Use Clear Vinyl or Mesh: Clear vinyl or mesh can also be used to create see-through sections. Vinyl provides a more durable option, while mesh allows for better ventilation if you're storing items like makeup brushes. Sew or glue the vinyl or mesh to the compartment opening for enhanced visibility.
3.2 Labeling Compartments
- Adhesive Labels: Use adhesive labels to mark the contents of each compartment. You can write directly on the labels or print out labels with clear, easy - to - read text. For example, label one compartment “Eye Makeup” and another “Lip Products”. This helps you quickly identify where each product belongs and makes it easier to keep the bag organized.
- Label - Friendly Surfaces: If the makeup bag has a smooth, label-friendly surface, you can use a permanent marker to write directly on it. However, be cautious as this may be a more permanent solution. You can also use label holders or clips that can be attached to the compartments for a more removable and customizable labeling option.
4. FAQ
Q: Will modifying my makeup bag void any warranties?
A: Modifying your makeup bag may void the manufacturer's warranty. Before making any significant modifications, check the warranty terms. If the bag is still under warranty and you're concerned about losing the warranty, consider less invasive modification methods or contact the manufacturer to see if they have any suggestions for improving the bag's usability without voiding the warranty.
Q: What if I'm not good at sewing or DIY projects?
A: There are many non-sewing DIY options. You can use fabric glue, double-sided tape, or adhesive strips to attach inserts, pouches, or dividers. For labeling, you can use pre-made adhesive labels or marker pens. Additionally, there are plenty of ready - to - use aftermarket inserts and accessories available that require no DIY skills at all.
5. Conclusion
Modifying a makeup bag with too many compartments is entirely feasible. Whether it's adjusting existing dividers, adding aftermarket inserts, or enhancing accessibility through clear windows and labeling, these modifications can turn your makeup bag into a more functional and organized beauty storage solution. By taking the time to modify your bag, you can make it better suit your makeup collection and daily beauty routine.

