How to Make a DIY Travel Makeup Bag for a Personal Touch?
News /
11/05/2025
Introduction
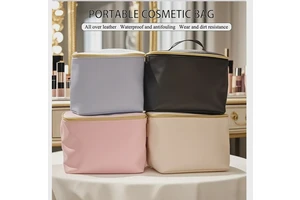
A DIY travel makeup bag not only offers a practical solution for storing your cosmetics on the go but also allows you to add a personal touch. This guide will walk you through the steps to create a customized travel-friendly makeup bag that suits your style and needs.
1. Gather Materials
1.1 Fabrics
- Outer Fabric: Select a durable and water-resistant fabric for the outer layer of your makeup bag. Nylon, polyester, or canvas are excellent choices. Nylon is lightweight, strong, and easy to clean, making it ideal for travel. If you prefer a more natural look, canvas provides a rustic charm. You can choose a fabric in a color or pattern that reflects your personal style. For example, if you love floral patterns, a floral-printed nylon fabric can add a touch of femininity to your bag.
- Inner Lining: The inner lining should be a smooth and easy - to - clean material. A polyester or cotton-blend lining is a good option. It helps protect your makeup from scratching and makes it easier to wipe away any spills. You can choose a contrasting color for the lining to add an interesting visual element.
- Accent Fabrics (Optional): If you want to add some decorative elements, consider using accent fabrics. This could be a lace trim, a piece of satin for a drawstring, or a small patch of a different fabric for a unique design detail.
1.2 Hardware
- Zippers: Choose a zipper that is the appropriate length for your bag. Metal zippers are more durable, but plastic zippers can be a more budget-friendly option. Make sure the zipper teeth are smooth and the zipper pull is easy to grip. You can find zippers in a variety of colors to match your fabric.
- Buttons or Snaps (Optional): If you plan to add closures other than the zipper, such as a flap with a button or snap, select ones that are the right size and style for your bag. These can add an extra layer of security and a decorative touch.
1.3 Sewing Supplies
- Sewing Machine or Needle and Thread: You can use a sewing machine for a more efficient and professional-looking finish. However, if you don't have a sewing machine, you can also sew the bag by hand using a needle and thread.
- Scissors: A good pair of sharp scissors is essential for cutting the fabric accurately.
- Pins: Pins help hold the fabric pieces in place while you sew.
- Measuring Tape: Use a measuring tape to ensure accurate measurements for your bag.
2. Design Your Makeup Bag
2.1 Determine the Size
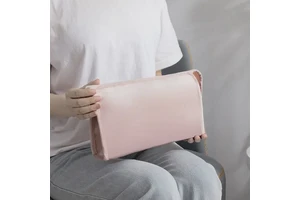
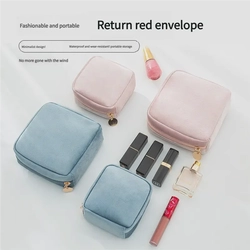
- Consider your travel makeup needs when deciding on the size of the bag. If you carry a large number of makeup products, you may want a larger bag with multiple compartments. For a more minimalist approach, a smaller, compact bag will suffice. A typical travel makeup bag can be around 8 - 10 inches in length, 5 - 7 inches in width, and 3 - 5 inches in depth. However, these dimensions can be adjusted according to your preferences.
- Sketch out your design on a piece of paper, including the shape of the bag, the location of compartments (if any), and any special features you want to include.
2.2 Compartment Design
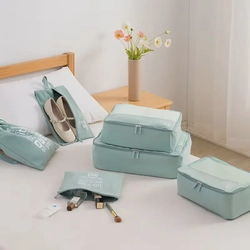
- Main Compartment: The main compartment will hold the bulk of your makeup products. You can keep it simple or divide it into smaller sections using fabric dividers. For example, you can create a larger section for palettes and a smaller one for lipsticks.
- Side Pockets: Adding side pockets can be useful for storing items like makeup brushes or small skincare products. These pockets can be made by sewing a piece of fabric onto the side of the main bag, creating a pocket-like structure.
- Interior Dividers: If you want to keep your makeup organized, use fabric dividers to create separate compartments. You can sew the dividers in place or make them adjustable by using Velcro or buttons.
3. Cut and Prepare the Fabric
3.1 Cut the Outer Fabric
- Using your measuring tape and scissors, cut two pieces of the outer fabric according to the dimensions of your design. These two pieces will form the front and back of your makeup bag.
- If you plan to add side panels, cut the appropriate number of side-panel pieces as well. Make sure to cut the fabric accurately to ensure a proper fit when sewing.
3.2 Cut the Inner Lining
- Cut two pieces of the inner lining fabric to match the size of the outer fabric pieces. The inner lining pieces will line the inside of the bag, providing a smooth surface and protecting your makeup.
- If you have designed side pockets or dividers, cut the necessary pieces of lining fabric for these components as well.
3.3 Prepare the Accent Fabrics (if applicable)
- If you're using accent fabrics, cut them into the desired shapes and sizes. For example, if you want to add a lace trim, cut the lace to the appropriate length to go around the edges of the bag or along the zipper.
4. Sew the Bag
4.1 Attach the Zippers
- Place the zipper face down on one of the outer fabric pieces, aligning the edges. Use pins to hold the zipper in place. Sew the zipper to the fabric using a zipper foot on your sewing machine or by hand-sewing with a small, neat stitch.
- Repeat the process for the other outer-fabric piece, so that the zipper is sandwiched between the two outer-fabric pieces. Make sure the zipper is centered and the teeth are aligned properly.
4.2 Sew the Side Panels (if applicable)
- If your design includes side panels, sew them to the sides of the front and back outer fabric pieces. Use a straight stitch to attach the side panels, ensuring that the seams are strong and the fabric is aligned correctly.
- Repeat the process for the inner lining pieces, sewing the side panels to the lining.
4.3 Create the Compartments and Pockets
- To create side pockets, sew a piece of fabric onto the side of the main bag, leaving the top open to form a pocket. You can reinforce the seams for added durability.
- For interior dividers, sew the fabric dividers in place according to your design. If you want adjustable dividers, attach Velcro strips or buttons to the dividers and the bag to allow for easy adjustment.
4.4 Attach the Inner Lining
- Place the inner lining pieces inside the outer fabric pieces, right sides together. Pin the edges in place and sew around the edges, leaving an opening at the bottom to turn the bag right-side out.
- Once sewn, turn the bag right-side out through the opening at the bottom. Push out the corners and edges to give the bag its proper shape. Then, sew the opening at the bottom closed.
4.5 Add Buttons or Snaps (if applicable)
- If you've designed a flap with a button or snap closure, attach the buttons or snaps to the flap and the corresponding area on the bag. Make sure they are securely attached and function properly.
5. Add Personal Touches
5.1 Embroider or Paint
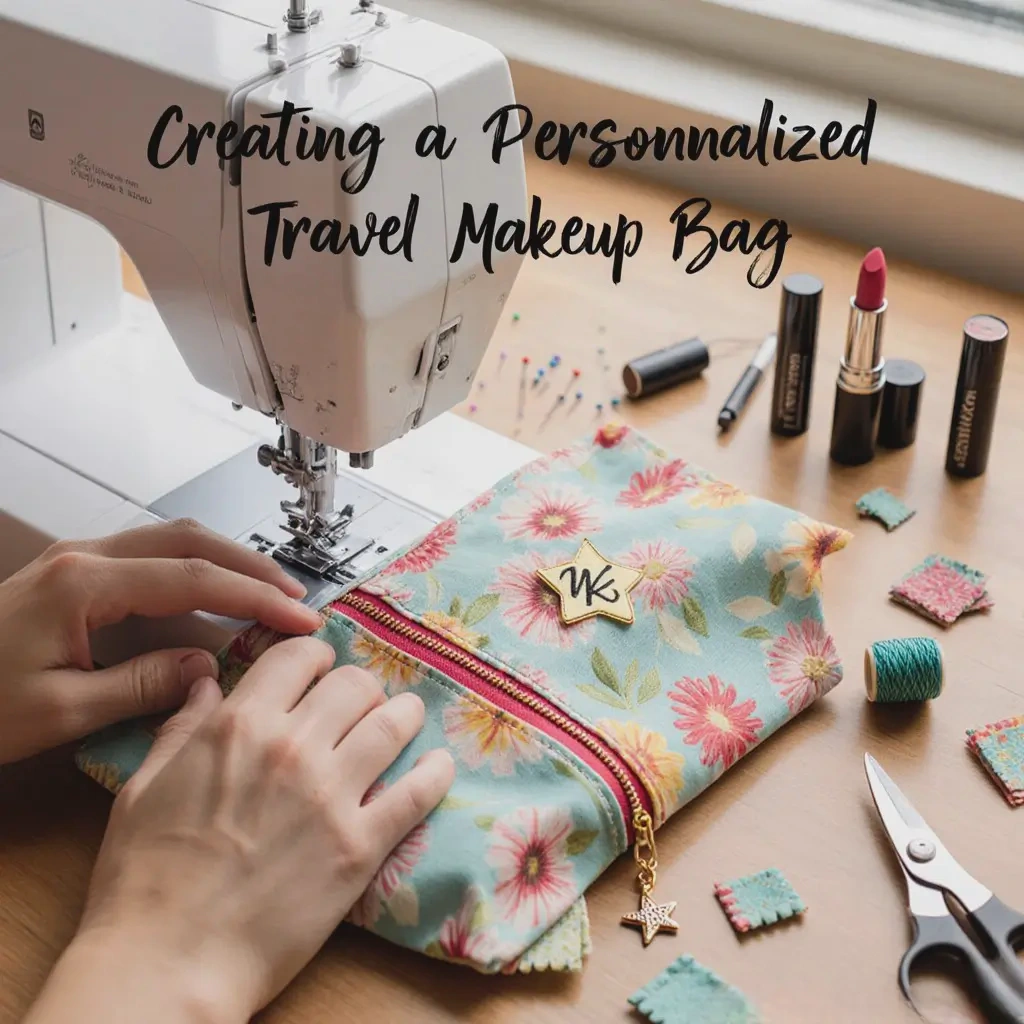
- You can add a personal touch to your makeup bag by embroidering your initials, a favorite symbol, or a small design onto the outer fabric. Use embroidery floss and a needle to create the design. If you're more artistically inclined, you can also use fabric paint to paint a unique pattern or picture on the bag.
- This not only makes the bag more personalized but also adds a creative and unique element to your travel makeup bag.
5.2 Attach Charms or Badges
- Attach small charms, badges, or patches to the bag. You can find charms related to makeup, travel, or your hobbies. Badges can be from your favorite brands or events. Use a strong glue or sew them onto the bag to add a decorative and personal touch.
6. Conclusion
Making a DIY travel makeup bag allows you to create a unique and personalized storage solution for your makeup while on the go. By following these steps and adding your personal touches, you can have a one - of - a - kind makeup bag that meets your travel needs and reflects your style.