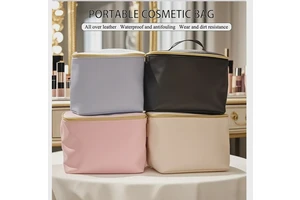
What is the Best Way to Display Your Cosmetics in a Large - capacity Makeup Bag?
A large-capacity makeup bag offers ample space to store and display your cosmetics in an organized and accessible manner. Here are some of the best ways to make the most of this space and ensure your makeup is both easy to find and visually appealing.
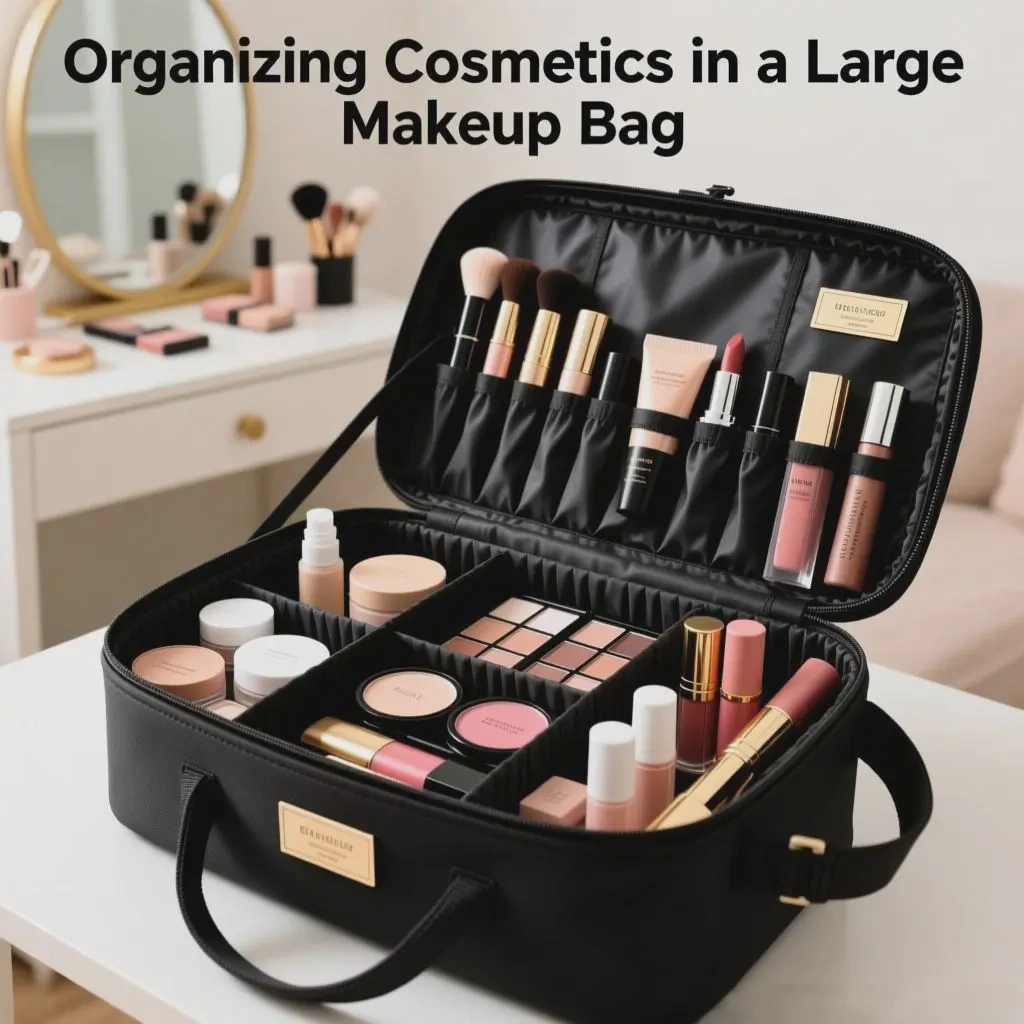
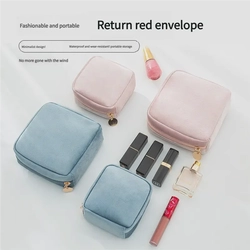
1. Compartmentalize by Makeup Type
Separate Sections for Different Categories
- Face Products: Designate a section for face cosmetics such as foundations, concealers, and powders. You can use small, flat containers or dividers to keep these products organized. For example, place liquid foundations in one area, powder compacts in another, and concealers in a separate, easy - to - reach spot. This separation helps prevent spills and makes it simple to locate the exact product you need for your complexion routine.
- Eye Makeup: Create a dedicated space for eye makeup like eyeshadows, eyeliners, and mascaras. Eyeshadow palettes can be stood upright in a partition to save space and display the colors clearly. Pencil eyeliners can be stored in a small, narrow compartment, while mascaras can be placed in a separate area to avoid clumping with other products.
- Lip Products: Set aside a section for lipsticks, lip glosses, and lip balms. You can use a small, angled tray or a set of small tubes to hold these products upright. This not only makes it easy to see all your lip colors at a glance but also keeps them from rolling around and getting damaged.
Using Dividers and Inserts
- Adjustable Dividers: Invest in a makeup bag with adjustable dividers. These allow you to customize the compartments according to the size and shape of your makeup products. For instance, if you have a large, rectangular-shaped highlighter palette, you can adjust the dividers to create a space that fits it perfectly. Similarly, you can create smaller compartments for single-use makeup items like lip tints or sample-sized products.
- Removable Inserts: Some makeup bags come with removable inserts, such as small pouches or trays. These can be used to group related products together. For example, you can use a small pouch to store all your makeup brushes, or a tray to hold your pressed powder products. Removable inserts make it easy to take out a specific set of products when you need them, and they also help keep the bag organized.
2. Organize by Frequency of Use
Place Frequently Used Items at the Front
- Everyday Essentials: Identify your everyday makeup essentials, such as your go-to foundation, mascara, and lipstick. Place these items in the front or top-most compartments of the makeup bag. This ensures that you can quickly grab them in the morning when you're in a hurry. For example, if you always use the same concealer, keep it in a small pocket that's easily accessible without having to rummage through the entire bag.
- Seasonal or Special-Occasion Items: Store products that you use less frequently, such as special-occasion eyeshadows or holiday-themed lipsticks, in the back or deeper compartments of the bag. This way, they're out of the way but still easily retrievable when you need them.
Create a Quick-Access Zone
- Zippered Pockets or Mesh Pouches: Use zippered pockets or mesh pouches on the outside or top of the makeup bag to create a quick-access zone. These can be used to store items like makeup remover wipes, cotton swabs, or a small mirror. Having these items readily available means you don't have to open the entire bag every time you need to touch up your makeup or clean up a small mess.
3. Consider Vertical Storage
Stand Products Upright
- Palettes and Bottles: Stand eyeshadow palettes, blush palettes, and tall makeup bottles upright. This not only saves space but also allows you to see the contents clearly. For example, a collection of nail polish bottles can be placed upright in a narrow compartment, making it easy to select the color you want. Standing products upright also helps prevent liquid products from leaking and makes it easier to organize them by color or brand.
- Brushes and Tools: Store makeup brushes upright in a brush holder or a dedicated section of the bag. This helps keep the bristles in good condition and makes it simple to choose the right brush for the job. You can use a brush roll or a container with individual slots to hold the brushes in place.
Utilize Hanging Organizers or Hooks
- Hanging Makeup Bags: If your makeup bag has a hanging feature, use it to your advantage. Hang the bag on a hook or a towel rack, and use the compartments to display your makeup vertically. This gives you a clear view of all your products and makes it easy to access them. Some hanging makeup bags have multiple layers of compartments, allowing you to separate different types of makeup products effectively.
- Adding Hooks or Clips: You can also add small hooks or clips inside the bag to hang items like eyelash curlers or small makeup sponges. This keeps these items from getting lost at the bottom of the bag and makes them more accessible.
4. Color - Coding and Labeling
Group by Color
- Eyeshadows and Lip Products: Group eyeshadows and lip products by color. This makes it easier to coordinate your makeup look. For example, place all your neutral - colored eyeshadows in one area, and your bright, colorful eyeshadows in another. Similarly, group your red-toned lipsticks together, and your pink-toned lipsticks in a separate section. This color-coding system not only helps you find the right product quickly but also makes the makeup bag look more organized and visually appealing.
- Face Products: You can also color-code face products to some extent. For example, group all your bronzers and contour products together, and your highlighters in a separate area. This way, you can easily find the products you need to enhance your features.
Labeling Compartments
- Using Stickers or Tags: Label the compartments of your makeup bag using stickers or tags. This is especially useful if you have a large number of products or if you share the makeup bag with someone else. You can label the compartments with the type of product (e.g., "Foundations", "Blushes") or with the brand name if you have a preference for certain brands. Labeling makes it easy for everyone to find what they're looking for and helps maintain the organization of the bag.
FAQ
Q: How can I prevent makeup from leaking in the bag?
A: Make sure all makeup products are tightly closed before placing them in the bag. For liquid products, consider using small plastic bags or leak-proof containers as an extra layer of protection. You can also place absorbent materials, such as a small piece of cloth or a paper towel, around the liquid products to absorb any potential leaks.
Q: Can I use a large-capacity makeup bag for travel?
A: Yes, a large-capacity makeup bag can be used for travel, but you may need to be more strategic about packing. Use travel-sized products where possible to save space. Secure all products tightly to prevent them from moving around and getting damaged during transit. You can also use packing cubes or small pouches to organize the makeup bag for travel further.
Q: What if my makeup bag doesn't have compartments?
A: You can create your own compartments using items like small boxes, containers, or even cardboard dividers. You can also purchase aftermarket dividers or inserts that are designed to fit into makeup bags. Additionally, you can use small pouches or zip-lock bags to group similar products together and create a makeshift compartment system.
Conclusion: Optimal Makeup Display
In conclusion, the best way to display your cosmetics in a large-capacity makeup bag involves a combination of compartmentalization, organization by frequency of use, vertical storage, and color-coding or labeling. By following these methods, you can keep your makeup bag organized, your products easily accessible, and your makeup application routine more efficient.