Ready to Design Your Dream Makeup Bag? A Complete Guide to Multi-Compartment Pattern Development!
Is your makeup bag a chaotic jumble of products where finding a single lipstick feels like an archaeological dig? For crafters and sewists, the solution isn't just buying another organizer—it's about creating the perfect one. Designing and sewing your own multi-compartment makeup bag allows for ultimate customization, ensuring every brush, bottle, and palette has its designated spot. But the journey from a neat idea to a finished, functional bag hinges on one crucial skill: pattern development. This guide is your blueprint, transforming that vision of perfect order into a tangible, sewable reality.
This comprehensive tutorial walks you through the entire process of developing a professional-style multi-compartment makeup bag pattern. You'll learn how to plan functional zones, draft precise pattern pieces for the main body, dividers, and pockets, master construction techniques for clean finishes, and personalize your design. We’ll also tackle common FAQs, from choosing the right fabric to troubleshooting tricky sewing moments.
Moving from a cluttered pouch to a custom, compartmentalized case might seem daunting, but by breaking it down into logical, sequential steps, anyone can achieve impressive results. Let's dive into the systematic process of creating your own bespoke makeup organizer.
[TOC]:
Planning Your Perfect Layout: What Compartments Do You Really Need?
Drafting the Blueprint: How Do You Create the Pattern Pieces?
Construction & Assembly: What's the Best Order to Sew It All Together?
Pro Finishes & Troubleshooting: How Do You Elevate and Fix Your Design?
Conclusion
1. Planning Your Perfect Layout: What Compartments Do You Really Need?
1.1. Before you touch a pencil or fabric, success lies in the planning phase. A well-designed makeup bag mirrors its owner's habits. Start by auditing your daily or travel cosmetics. This "content inventory" is the foundation for a bag that works for you, not against you, dictating the number, type, and size of every compartment.
1.2. Effective planning answers two core questions: What are you storing? And what materials will best protect and organize them? This phase turns a generic pouch into a personalized storage system.
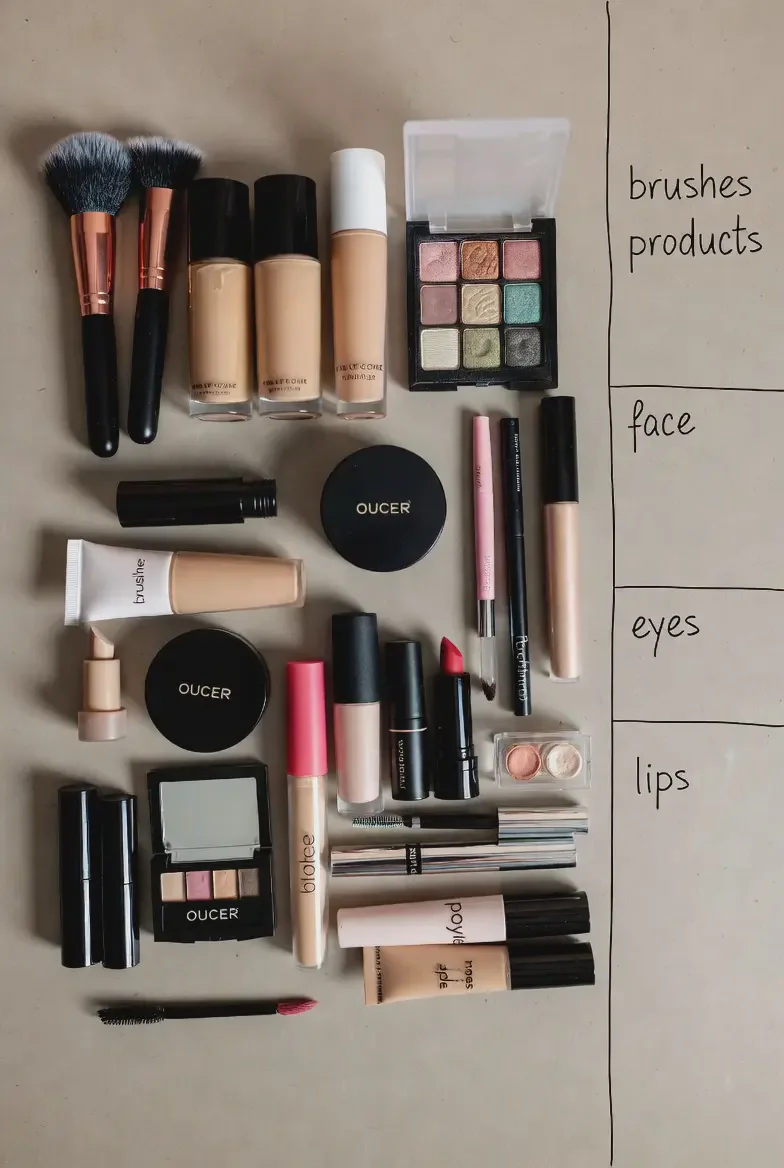
FAQ: What functional zones should a multi-compartment bag include?
Brush Holder: Dedicated slots or a roll-up flap to protect bristles and prevent mess.
Liquid/Pot Zone: A waterproof-lined section or zip pouch for leak-prone items.
Variable-Height Dividers: Create sections for tall bottles and shallow pans.
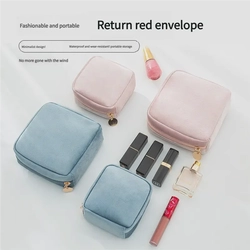
Mesh or Zippered Pocket: For small, easily lost items like bobby pins or earring backs.
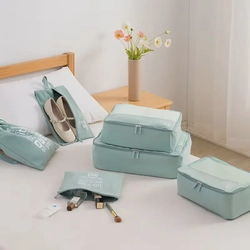
Main Cavity: Open space for larger items like palettes or cosmetic wipes.
FAQ: What fabrics are most suitable?
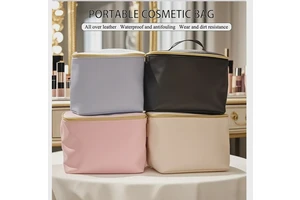
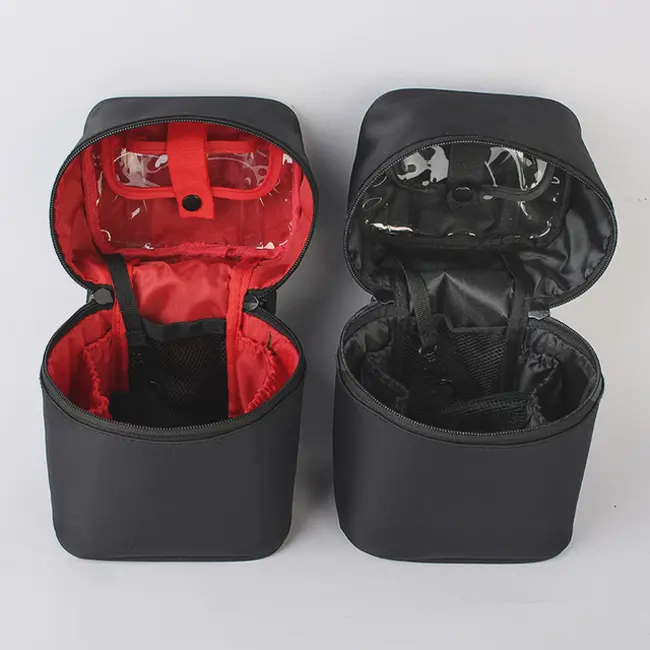
Exterior: Choose durable, slightly rigid fabrics like home-dec weight cotton, canvas, or laminated cotton for structure and style.
Lining: Opt for easy-to-clean, waterproof materials like nylon or PVC for practicality.
Structure: Use fusible woven interfacing or mid-weight sew-in interfacing on exterior pieces. For a very rigid look, consider using plastic canvas or a pre-cut acrylic sheet in the base.
2. Drafting the Blueprint: How Do You Create the Pattern Pieces?
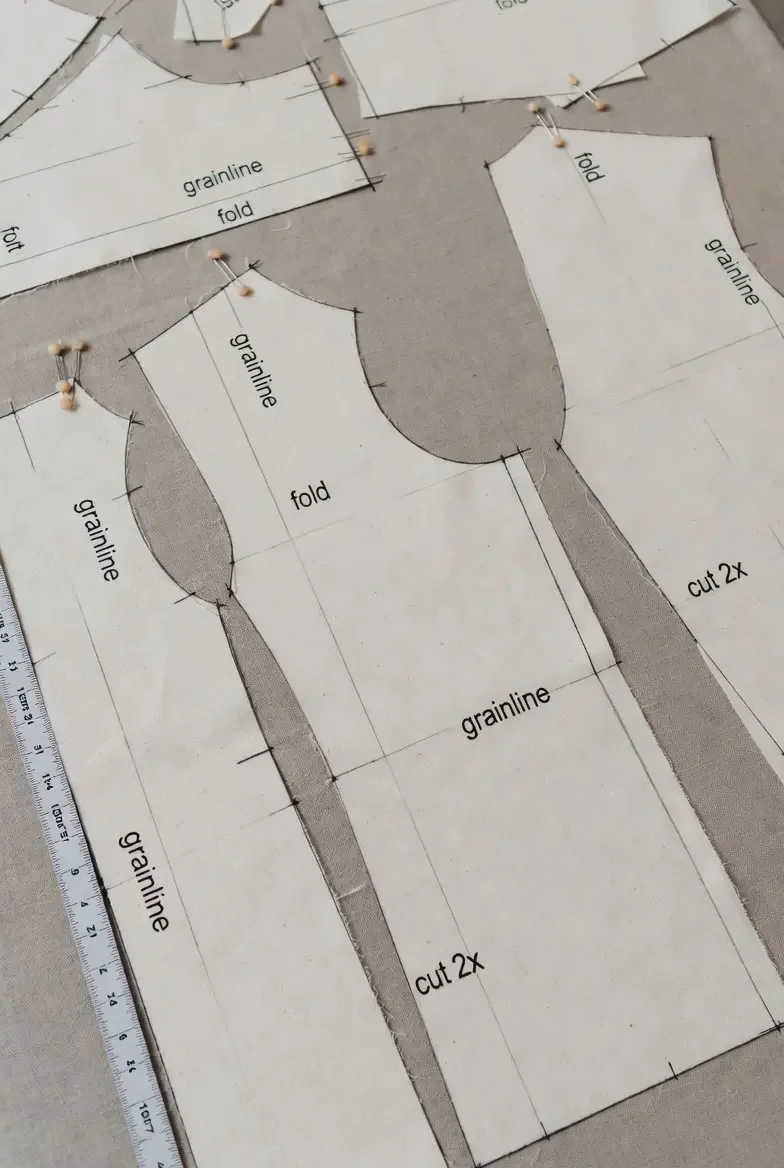
2.1. With a solid plan, it's time to translate ideas into technical drawings. Pattern drafting is about precision and foresight, accounting for seam allowances, fabric thickness, and three-dimensional form. This stage ensures all parts will fit together seamlessly during construction.
2.2. An accurate pattern is your roadmap. We'll focus on creating the core pieces: the bag body (front, back, base, and gussets), internal dividers, and various pocket types, all based on your custom measurements.
FAQ: How do I size compartments for standard cosmetics?
Provide a reference table: E.g., Lipstick: 8-9cm tall, Slim Brushes: 16-20cm, Powder Palette: 12-15cm wide. Always add ease: For pockets, add 1-2cm in height and width to the item's dimensions for easy insertion.
Key Drafting Principles:
Bag Body: Start with a rectangle. The height is your desired bag height + seam allowance (SA). The width = (Desired width x 2) + (Gusset depth x 2) + SA.
Gusset/Base: This piece connects your front and back. Its length matches the total perimeter of your bag's bottom and sides.
Dividers & Pockets: Draft these to match the internal dimensions of your bag body, subtracting the thickness of seams and other compartments.
3. Construction & Assembly: What's the Best Order to Sew It All Together?
3.1. A logical assembly sequence is the secret to a professional-looking finish. The golden rule is to work from the inside out and from smaller to larger components. This minimizes bulk under the sewing machine needle and ensures you can maneuver pieces easily.
3.2. Follow this general flow: 1) Construct all internal organizers (dividers, pockets), 2) Attach them to the lining pieces, 3) Assemble the main bag structure, and 4) Bring everything together. Patience here prevents frustration later.
3.4.
Recommended Assembly Order:
Apply interfacing to all exterior and major lining pieces.
Sew pockets and dividers. Attach them to the right side of the main lining panel.
Construct the exterior shell: Attach the gusset to the front/back pieces.
Construct the lining "bag," leaving a generous turning gap in the bottom seam.
Install the zipper between the exterior and lining units at the top opening.
Turn the entire bag right-side out through the lining gap, then hand-stitch the gap closed.
Pro Tip: Use wonder clips instead of pins to hold thick layers. They lie flat and don't distort the fabric.
4. Pro Finishes & Troubleshooting: How Do You Elevate and Fix Your Design?
4.1. The final touches distinguish a homemade bag from a handmade masterpiece. Simultaneously, knowing how to anticipate and solve common problems will save your project and build your confidence for future, more complex designs.
4.2. This stage covers everything from adding luxurious hardware and personalized details to diagnosing why a seam puckered or a divider doesn't sit straight.
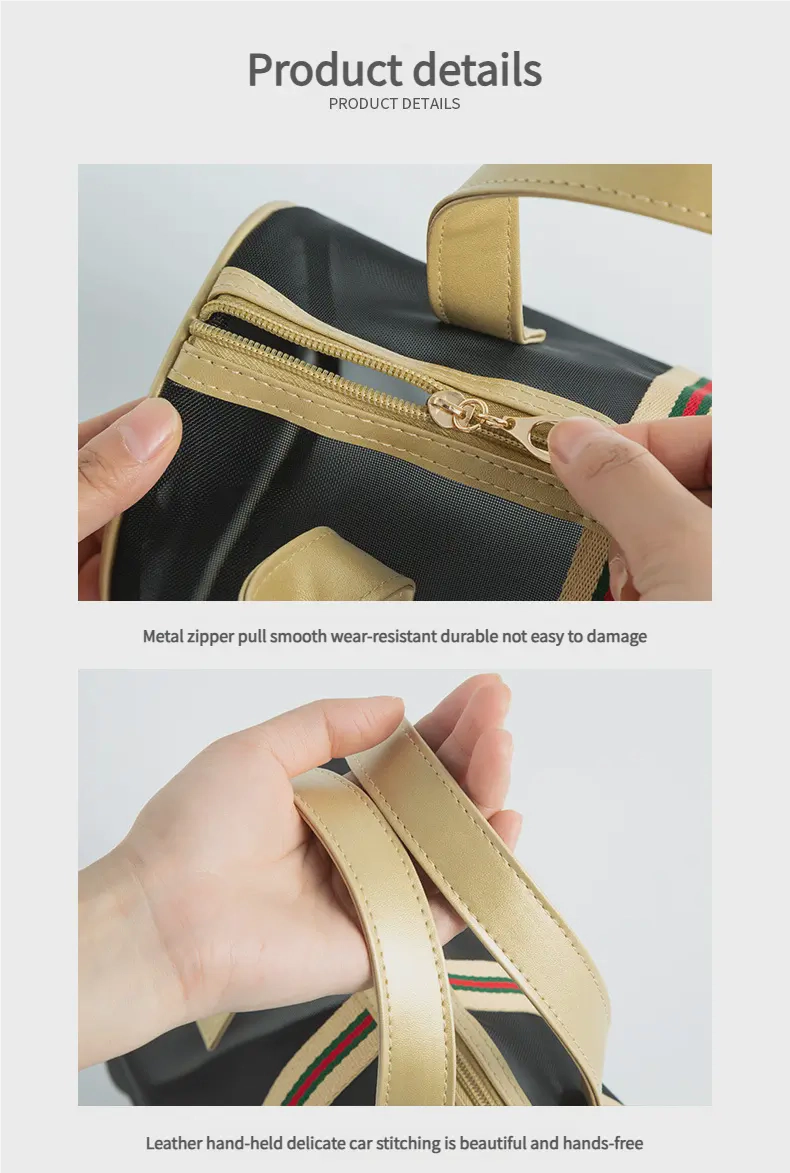
4.4. Elevating Your Design:
Top-Stitching: Use a longer stitch length and an edge-stitching foot for perfectly parallel lines that add polish and structure.
Hardware: Add a leather wrist strap, a decorative pull to the zipper, or a D-ring to attach a detachable shoulder strap.
Personalization: Embroider initials, use contrast lining, or add a clear vinyl interior pocket for a travel mirror.
FAQ & Troubleshooting:
Q: My sewing machine struggles with thick layers.
A: Use a denim/jeans needle (size 90/14 or 100/16). Go slow, manually turn the handwheel over the thickest seams, and use a hump jumper or folded cardstock behind the presser foot to level the seam.
Q: My finished bag is floppy. How do I add structure?
A: Interface all exterior pieces. For the base, insert a pre-cut plastic or cardboard sheet between the exterior and lining after construction, creating a sealed pocket for it. For sides, consider using sew-in boning in the seams.
Conclusion
Designing and sewing your own multi-compartment makeup bag is a profoundly satisfying project that blends problem-solving with creativity. By methodically moving through planning, pattern drafting, construction, and finishing, you gain more than just a perfectly organized bag—you acquire skills transferable to a world of other sewing projects. Remember, your first version is a prototype; note what you love and what you’d change for next time. The ultimate goal is to create a tool that brings daily calm and order, a small luxury made precisely for you. Now, with your pattern developed and techniques honed, what will you organize next?
[External links recommendation]: